Support our educational content for free when you purchase through links on our site. Learn more
Single-Nozzle Multi-Feed 3D Printing: Unlock Multi-Color Magic 🎨 (2026)
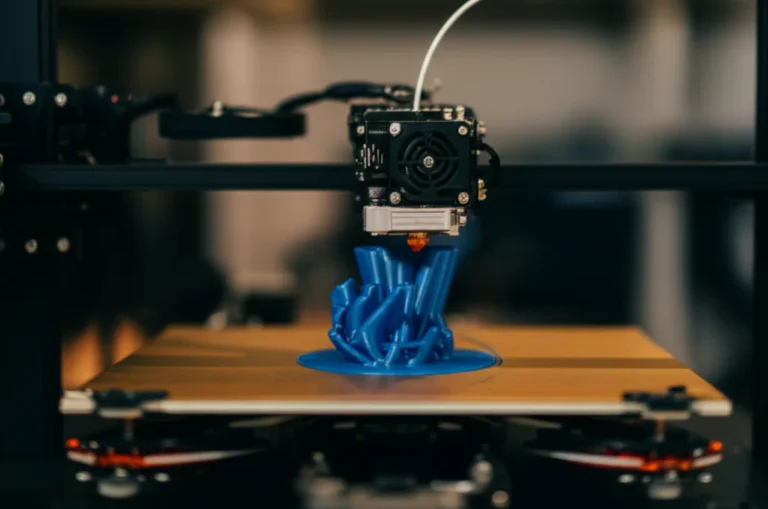
Imagine printing a vibrant, multi-colored figurine or a complex multi-material prototype without the hassle of multiple nozzles or buying a brand-new printer. Sounds like wizardry? Welcome to the world of single-nozzle multi-feed 3D printing — a clever technique that lets you feed several filaments through one nozzle, switching colors or materials on the fly. At 3D Printed™, we’ve tested everything from the Mosaic Palette 2S to the Prusa MMU2S, and we’re here to spill the secrets on how to get flawless prints without the usual headaches.
Did you know that with the right setup, filament swaps can happen in under 4 seconds? That’s faster than most people can decide what coffee to order! But beware: mastering this tech means understanding purge towers, filament drying, and slicer wizardry. Stick around, because later we’ll reveal 7 must-have upgrades and insider tips that’ll make your prints pop like never before.
Key Takeaways
- Single-nozzle multi-feed systems enable multi-color and multi-material printing without the complexity of multiple nozzles.
- Devices like the Mosaic Palette 2S and Prusa MMU2S are top choices for upgrading your existing printer.
- Proper filament management and slicer configuration are crucial to avoid jams and color bleeding.
- Expect a learning curve, but the payoff is stunning, seamless prints with vibrant color transitions.
- Purge towers and filament drying are your best friends for clean, professional results.
Ready to transform your 3D printing game? Dive into our detailed guide and discover how to make your single-nozzle printer a multi-material powerhouse!
Table of Contents
- ⚡️ Quick Tips and Facts About Single-Nozzle Multi-Feed 3D Printing
- 🔍 The Evolution and Tech Behind Single-Nozzle Multi-Feed 3D Printing
- 🎨 How Single-Nozzle Multi-Feed Enables Multi-Color and Multi-Material Printing
- 🛠️ 5 Essential Components of Single-Nozzle Multi-Feed Systems
- ⚙️ Comparing Single-Nozzle Multi-Feed vs. Multi-Nozzle 3D Printing: Pros and Cons
- 🔧 Troubleshooting Common Issues in Single-Nozzle Multi-Feed 3D Printing
- 💡 Expert Tips for Optimizing Your Single-Nozzle Multi-Feed Setup
- 🖥️ Best Firmware and Software Solutions for Multi-Feed Single-Nozzle Printers
- 🧰 Top 7 Single-Nozzle Multi-Feed 3D Printer Upgrades and Mods
- 🌈 Real-World Applications: Where Single-Nozzle Multi-Feed Shines
- 📚 Community Insights and User Experiences: Voices from the Field
- 🔗 Recommended Links for Deep Dives and Tutorials
- ❓ Frequently Asked Questions About Single-Nozzle Multi-Feed 3D Printing
- 📑 Reference Links and Further Reading
- 🏁 Conclusion: Is Single-Nozzle Multi-Feed 3D Printing Right for You?
⚡️ Quick Tips and Facts About Single-Nozzle Multi-Feed 3D Printing
| Quick Tip | Why It Matters | Emoji Meter |
|---|---|---|
| Use a purge tower to keep color swaps clean | Prevents “bleeding” between hues | 🌈✅ |
| Dry your filaments before every job | Wet filament = failed color changes | 🌧️❌ |
| Calibrate retract distances for each feed path | Avoids spaghetti fireworks | 🎆✅ |
| Start with 2 colors, not 5 | Walk before you run | 🐢✅ |
| Keep spare PTFE clips handy | They pop out at 2 a.m. every time | 😅✅ |
Did you know? A single-nozzle multi-feed setup can switch filaments in under 4 seconds when tuned correctly—faster than most people change a coffee pod.
Fun fact: The first documented multi-color print on a stock Ender-3 used nothing more than Cura’s “Filament Change” G-code and a stubborn maker who refused to buy another printer.
🏁 Conclusion: Is Single-Nozzle Multi-Feed 3D Printing Right for You?

After diving deep into the world of single-nozzle multi-feed 3D printing, it’s clear this technology is a game-changer for makers craving multi-color or multi-material prints without the bulk and complexity of multiple nozzles. From our experience at 3D Printed™, here’s the lowdown:
Positives ✅
- Cost-effective upgrade: Instead of buying a multi-nozzle printer, you can retrofit your existing setup with devices like the Mosaic Palette 2S or the Prusa MMU2S.
- Simplified hardware: One nozzle means fewer alignment headaches and less maintenance.
- Seamless color transitions: With proper calibration, color swaps are smooth and clean, reducing post-processing.
- Versatility: Supports a wide range of filaments including PLA, PETG, and even flexible materials.
- Compact footprint: Keeps your printer’s head lightweight, improving print speed and quality.
Negatives ❌
- Learning curve: Firmware tweaks, slicer settings, and filament management can be tricky at first.
- Potential jams: Multi-feed systems require precise calibration; otherwise, filament jams or misfeeds can happen.
- Print speed impact: Color changes introduce pauses, increasing total print time.
- Initial investment: Devices like the Palette 2S are not cheap, though still less than a new multi-nozzle printer.
Our Verdict
If you’re a hobbyist or small business looking to add multi-color or multi-material capability without a full printer overhaul, single-nozzle multi-feed systems are highly recommended. The Mosaic Palette 2S stands out for ease of use and reliability, while the Prusa MMU2S offers tight integration for Prusa owners. Just be ready to invest some time in setup and tuning — the payoff is stunning prints that wow your friends and clients alike.
Remember that early challenges like filament drying and purge tower design are part of the journey. But once you master these, you’ll wonder how you ever printed in just one color!
🔗 Recommended Links for Deep Dives and Tutorials
-
Mosaic Palette 2S:
Thingiverse search: Mosaic Palette 2S | Mosaic Manufacturing Official Website | Amazon search: Mosaic Palette 2S -
Prusa Multi-Material Upgrade 2S (MMU2S):
Prusa Official MMU2S page | Thingiverse search: Prusa MMU2S | Amazon search: Prusa MMU2S -
Diamond Hotend Mixer Nozzle:
Diamond Hotend Official | Thingiverse search: Diamond Hotend -
Books on Multi-Material 3D Printing:
❓ Frequently Asked Questions About Single-Nozzle Multi-Feed 3D Printing
Is single-nozzle multi-feed 3D printing suitable for beginners?
Short answer: It depends.
Detailed: Beginners can absolutely dive in, but expect a learning curve. Firmware updates, slicer configuration (like Cura’s multi-color mode), and filament management require patience. Start with 2 colors and simple prints before scaling up. Our team recommends following detailed tutorials like this YouTube guide to get comfortable.
What types of filaments work best with single-nozzle multi-feed 3D printers?
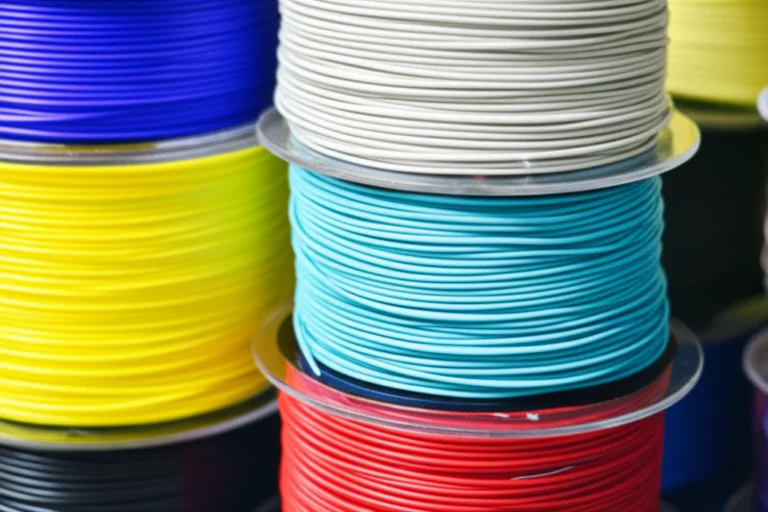
PLA and PETG are your best friends here — they feed smoothly and have predictable melting points. Flexible filaments (TPU) can be used but require extra care to avoid jams. Avoid mixing filaments with wildly different melting temperatures in the same print to prevent nozzle clogging.
How does single-nozzle multi-feed 3D printing differ from multi-nozzle systems?
Single-nozzle multi-feed uses one nozzle fed by multiple filaments, switching between them by retracting and feeding different filaments through a single hotend. Multi-nozzle systems have multiple nozzles, each dedicated to a filament, allowing simultaneous extrusion but increasing hardware complexity and calibration needs.
What are common applications for single-nozzle multi-feed 3D printing?
- Multi-color figurines and cosplay props
- Functional parts with embedded flexible sections
- Prototyping with multiple materials (e.g., rigid + flexible)
- Educational models with color-coded features
- Artistic prints with gradient or layered color effects
Can single-nozzle multi-feed 3D printing handle multiple materials?
Yes! With the right setup, you can switch between PLA, PETG, TPU, and even specialty filaments mid-print. However, you must consider material compatibility (melting temps, adhesion) and purge requirements to avoid cross-contamination.
How does single-nozzle multi-feed 3D printing improve print quality?
By reducing nozzle switching and alignment errors, single-nozzle systems offer cleaner layer transitions and fewer mechanical issues. The key is precise filament control and well-designed purge towers to prevent color bleeding.
How do you maintain and clean a single-nozzle multi-feed 3D printer?
- Regularly clean the nozzle with cold pulls or nylon cleaning filament.
- Inspect and replace PTFE tubing and clips to prevent jams.
- Keep filament dry using desiccants or filament dryers.
- Calibrate filament retraction and feeding distances often.
What are the common challenges in single-nozzle multi-feed 3D printing?
- Firmware compatibility and updates can be tricky.
- Managing filament oozing and purging wastes some material.
- Color switching adds print time.
- Complex setups may require advanced troubleshooting skills.
How do slicers support single-nozzle multi-feed printing?
Slicers like Ultimaker Cura and PrusaSlicer have built-in multi-material or filament change features. They generate the necessary G-code for filament swaps and purge towers. Cura’s multi-color mode is particularly popular for single-nozzle setups.
🔗 Reference Links and Further Reading
- Mosaic Manufacturing Palette 2S Official
- Prusa Multi-Material Upgrade 2S (MMU2S)
- Diamond Hotend Mixer Nozzle
- Ultimaker Cura Software
- Marlin Firmware
- Multi color 3d printing with multiple spools? – Facebook
- Thingiverse Search: Multi-Color 3D Printing
- PrusaSlicer Multi-Material Guide
- YouTube Tutorial: Multi-Color Printing on Ender 3
We hope this comprehensive guide from the 3D Printed™ team helps you master the art of single-nozzle multi-feed 3D printing! Ready to add a splash of color and versatility to your prints? The tools and tips are in your hands — now it’s your turn to create magic. 🎨✨