Support our educational content for free when you purchase through links on our site. Learn more
🧬 High-Throughput Drug Screening with Bioprinting: The 2026 Revolution

High-throughput drug screening with bioprinting is no longer a futuristic dream; it is the critical bridge replacing unreliable 2D cell cultures with physiologically accurate 3D human tissue models to slash drug failure rates. By automating the creation of complex, living micro-tissues, this technology allows pharmaceutical giants to test thousands of compounds with human-like precision, effectively filtering out toxic candidates before they ever reach animal trials.
Imagine a lab where a single machine prints a thousand tiny, beating heart patches in minutes, each one a unique test subject for a new heart medication. This isn’t science fiction; it’s the reality of modern bioprinting, where the bottleneck of manual tissue culture has been shattered by robotic precision.
Did you know that roughly 90% of drug candidates that pass animal testing fail in human clinical trials? That staggering statistic represents billions of dollars wasted and years of potential cures lost, all because flat Petri dishes simply cannot mimic the complex 3D architecture of the human body.
We are witnessing a paradigm shift where Organ-on-a-Chip devices and 3D bioprinted spheroids are becoming the new gold standard for safety and efficacy testing. The era of guessing how a drug will behave in a human body is ending, replaced by data derived from actual, printed human tissues.
Key Takeaways
- Accuracy Over Speed: High-throughput drug screening with bioprinting solves the “flatland” problem of 2D cultures, providing data that closely mirrors human in vivo responses and drastically reducing late-stage clinical trial failures.
- Automation is Key: Modern workflows integrate robotic liquid handlers with DLP and inkjet bioprinters to create thousands of consistent 3D tissue models per day, bridging the gap between complex biology and industrial speed.
- Cost vs. Value: While initial setup costs for bioprinting labs are high, the long-term savings from eliminating ineffective drug candidates early in the pipeline make this the most cost-effective strategy for modern drug discovery.
- The Future is Personalized: This technology enables precision medicine by allowing researchers to print patient-specific tumor models to test which chemotherapy regimen will work best for an individual before treatment begins.
Table of Contents
- ⚡️ Quick Tips and Facts
- 📜 From Flat Petri Dishes to Living Organs: A Brief History of Bioprinting in Pharma
- 🧪 The Core Engine: How High-Throughput Screening (HTS) Mets 3D Bioprinting
- 🖨️ Bioprinting Technologies Powering the Drug Discovery Revolution
- 1. Extrusion-Based Bioprinting for Robust Tissue Constructs
- 2. Inkjet Bioprinting: Speed and Precision for Microarrays
- 3. Laser-Assisted Bioprinting: The Gold Standard for Viability
- 4. Stereolithography (SLA) and Digital Light Processing (DLP) for High-Resolution Scaffolds
- 🧬 Bioink Formulations: The Secret Sauce for Physiologically Relevant Models
- 1. Natural Polymers: Mimicking the Native Extracellular Matrix
- 2. Synthetic Hydrogels: Tunable Mechanics for Controlled Release
- 3. Decellularized Matrices: The Ultimate Biological Fidelity
- 🏭 Scaling Up: Automating the Bioprinting Workflow for Industrial HTS
- 🧫 3D Tissue Models vs. 2D Monolayers: Why the Industry is Shifting Gears
- 💊 Key Applications in Drug Development and Toxicity Testing
- 1. Accelerating Lead Optimization and Candidate Selection
- 2. Predictive Cardiotoxicity and Hepatotoxicity Screening
- 3. Cancer Drug Resistance and Tumor Microenvironment Modeling
- 4. Personalized Medicine: Tailoring Therapies to Patient Genomics
- 🛠️ Benchtop Considerations: Equipment, Software, and Cell Culture Challenges
- 📉 Overcoming the Hurdles: Standardization, Cost, and Regulatory Pathways
- 🔮 The Future Horizon: Organ-on-a-Chip and In Vivo Prediction Accuracy
- ✅ Conclusion
- 🔗 Recommended Links
- 📚 Reference Links
Quick Tips and Facts
Before we dive into the nitty-gritty of printing living tissue, let’s hit the ground running with some high-impact facts that might just blow your mind. If you thought 3D printing was just about making plastic fidget spiners or replacement parts for your toaster, think again. We are talking about bioprinting the future of medicine right here on the lab bench.
- The 90% Failure Rate: Did you know that roughly 90% of drug candidates that pass animal testing fail in human clinical trials? 📉 That’s a staggering waste of time and money. Traditional 2D cell cultures are the culprit; they just don’t mimic the human body well enough.
- Speed is King: Modern High-Throughput Screening (HTS) can test tens of thousands of compounds in a single day. But can they do it with 3D tissue? Not yet at the same speed, but we are getting there!
- The “Sweet Spot” Resolution: While standard FDM printers struggle with 0.2mm layers, Laser-Assisted Bioprinting can hit resolutions as fine as 30 μm, and some experimental DLP systems are pushing down to 1 μm. That’s smaller than a human hair!
- Cost Efficiency: A single microfluidic chip printed with GelMA can cost less than $0.50 in materials, excluding the cells. Compare that to the thousands of dollars spent on maintaining animal colonies!
- The Plate Revolution: We are moving from the classic 96-well plate to 384-well and even 1536-well formats. But here’s the kicker: fitting complex 3D structures into a 1536-well plate is currently the “Holy Grail” of the industry.
For more on how 3D printing is revolutionizing medicine, check out our deep dive into 3D Printing in Healthcare. And if you’re curious about the broader impact of this tech, take a look at our story on 3D Printed™ where we explore everything from prosthetics to organ scaffolds.
From Flat Petri Dishes to Living Organs: A Brief History of Bioprinting in Pharma
Let’s take a trip down memory lane, shall we? 🕰️ For decades, the pharmaceutical industry has been stuck in the “Flatland” of 2D cell cultures. Imagine trying to understand a bustling city like New York by looking at a single, flat map of a street corner. That’s what testing drugs on cells grown in a flat dish is like. The cells lose their natural shape, stop talking to each other properly, and behave nothing like they do in a human body.
The shift started in the early 20s when researchers realized that 3D cell cultures (like spheroids and organoids) offered a much better simulation of the in vivo environment. But growing these manually? It was a nightmare of inconsistency. One day you have a perfect sphere; the next, a lumpy mess. Enter 3D bioprinting.
The first wave of bioprinting was slow and clunky, mostly used for creating simple scaffolds. But as the technology matured, the focus shifted to High-Throughput Screening (HTS). The goal? To automate the creation of these 3D models so that drug companies could test thousands of compounds with the same reliability they got from 2D, but with the accuracy of 3D.
“3D cellular models better mimic aspects such as diffusion kinetics, cell-cell interactions, cell-matrix interactions, inclusion of stroma, and other features native to in vivo tissue.” — Source: PMC796875
Today, we are seeing a convergence of microfluidics, robotics, and bio-ink chemistry that is finally making it possible to print living tissues at a scale that matters for drug discovery. It’s not just about printing a heart; it’s about printing a thousand tiny heart patches to see which drug stops the arrhythmia.
The Core Engine: How High-Throughput Screening (HTS) Mets 3D Bioprinting
So, how do we actually get from “printing a blob” to “screening a drug”? It’s all about the integration.
Traditional HTS relies on liquid handling robots that can pipette nanoliters of liquid into thousands of wells. But these robots were designed for flat, 2D cells. When you introduce a 3D hydrogel construct, the physics change. You can’t just “pipette” a tissue; you have to print it.
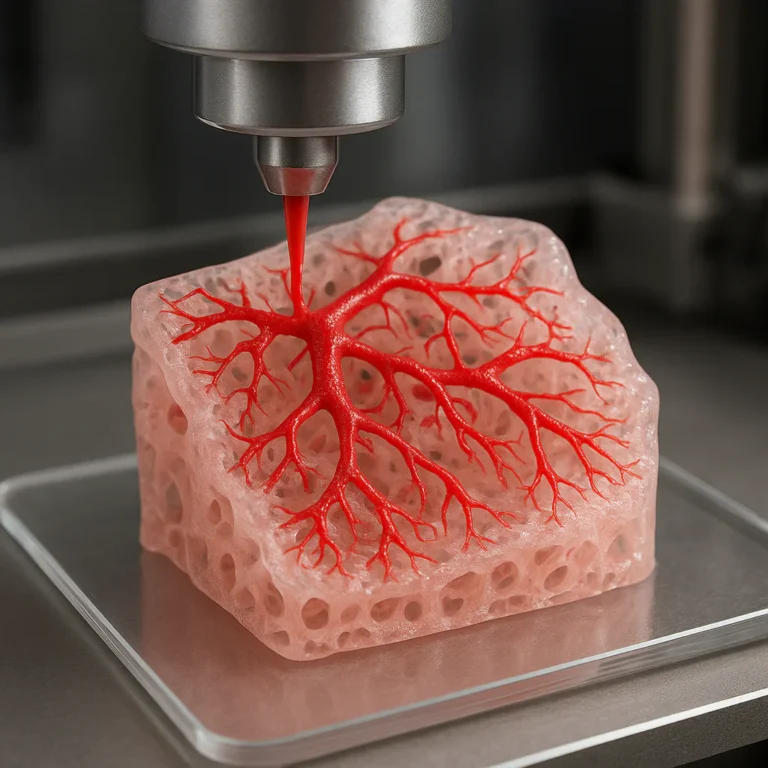
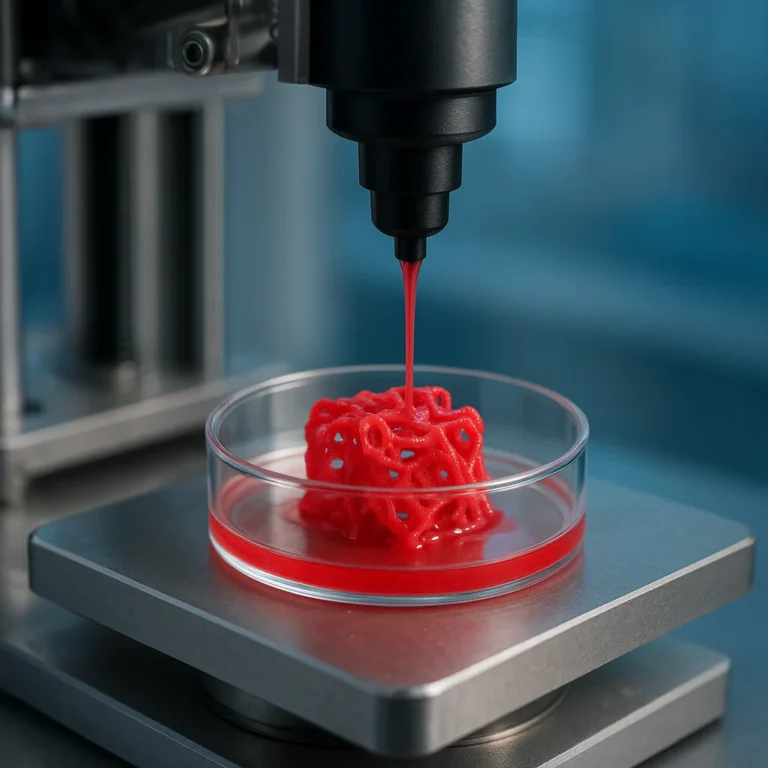
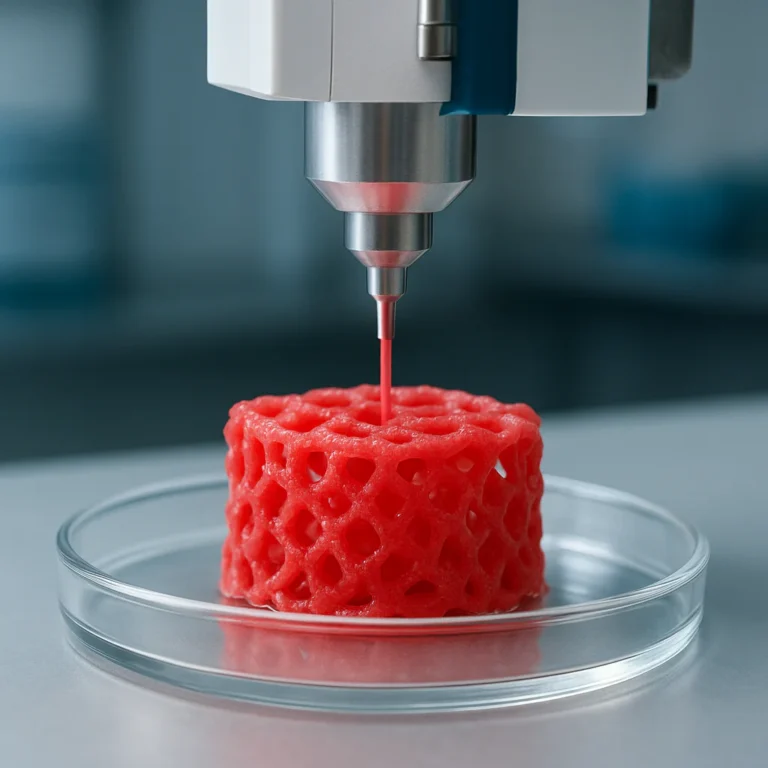
The core engine of this revolution is the bioprinter acting as the “cell dispenser” in an automated workflow. Instead of a human technician manually seeding cells into a 96-well plate, a bioprinter can deposit precise volumes of bioink (cells + hydrogel) into each well, creating a uniform 3D structure every time.
The Workflow Challenge
The biggest hurdle? Throughput vs. Complexity.
- 2D HTS: Can process 1536 wells in minutes.
- 3D Bioprinting: Currently struggles to match that speed while maintaining the structural integrity of complex tissues.
However, companies like Nano3D Biosciences are bridging this gap. Their magnetic bioprinting system can create spheroids in 384-well and 1536-well plates, effectively bringing 3D models into the high-speed lane.
Teaser: But wait, if the speed is the bottleneck, how do we print a complex liver model with blood vessels in under 3 minutes? The answer lies in a specific printing technology we’ll uncover later: Digital Light Processing (DLP).
For those interested in the software side of things, understanding the design constraints is crucial. Check out our guides on 3D Design Software to see how CAD models are translated into biological instructions.
Bioprinting Technologies Powering the Drug Discovery Revolution
Not all bioprinters are created equal. Just like in the world of FDM, SLA, and SLS printers, different bioprinting technologies offer different trade-offs between speed, resolution, and cell viability. Let’s break down the big four.
1. Extrusion-Based Bioprinting for Robust Tissue Constructs
This is the “workhorse” of the bioprinting world. It uses pneumatic pressure or a mechanical screw to push a continuous stream of bioink through a nozzle.
- Pros: High cell density, ability to print large structures, and supports multiple materials (multi-head systems).
- Cons: Lower resolution (usually >10 μm) and high shear stress can damage sensitive cells.
- Best For: Creating large, robust tissue constructs like bone or cartilage scaffolds.
2. Inkjet Bioprinting: Speed and Precision for Microarrays
Think of this like a standard office printer, but instead of ink, it ejects droplets of cells. It can be thermal (heat-based) or piezoelectric (pressure-based).
- Pros: Extremely fast, capable of drop-wise deposition, and excellent for creating high-density microarrays.
- Cons: Low viscosity bioinks only (no thick gels), and the heat in thermal systems can kill cells.
- Best For: High-throughput screening of simple cell patterns and spheroid formation.
3. Laser-Assisted Bioprinting: The Gold Standard for Viability
This technique uses a laser pulse to transfer cells from a “ribbon” onto a substrate. It’s contactless, meaning nozzle clogging and minimal shear stress.
- Pros: Ultra-high resolution (down to 30 μm), excellent cell viability, and can handle high-viscosity materials.
- Cons: Slow printing speed and expensive setup.
- Best For: Creating intricate vascular networks and high-fidelity tissue models.
4. Stereolithography (SLA) and Digital Light Processing (DLP) for High-Resolution Scaffolds
Instead of a nozzle, these use light to cure liquid resin (bioink) layer by layer. DLP cures an entire layer at once, making it incredibly fast.
- Pros: Highest resolution (up to 1 μm in experimental setups), fast curing, and excellent for creating complex microfluidic channels.
- Cons: Limited to photopolymerizable bioinks and potential UV damage to cells (though new safe photoinitiators are solving this).
- Best For: Organ-on-a-Chip devices and complex vascularized tissues.
| Technology | Resolution | Speed | Cell Viability | Best Application |
|---|---|---|---|---|
| Extrusion | Low (>10 μm) | Medium | Medium | Large Scaffolds |
| Inkjet | Medium (50-10 μm) | Very High | Low-Medium | Microarrays |
| Laser | High (30 μm) | Low | Very High | Vascular Networks |
| DLP/SLA | Ultra-High (1 μm) | High | Medium-High | Microfluidics |
For more on the hardware side, explore our 3D Printer Reviews to see how these technologies stack up in real-world scenarios.
Bioink Formulations: The Secret Sauce for Physiologically Relevant Models
If the printer is the engine, the bioink is the fuel. And let me tell you, getting the fuel right is harder than it looks. A good bioink needs to be printable, support cell growth, and mimic the Extracellular Matrix (ECM) of the human body.
1. Natural Polymers: Mimicking the Native Extracellular Matrix
These are derived from biological sources and are the gold standard for biocompatibility.
- Collagen: The most abundant protein in the body. It’s great for cell adhesion but a pain to print because it’s temperature-sensitive and hard to crosslink.
- Alginate: Extracted from seaweed. It’s easy to print and crosslinks instantly with calcium, but it lacks natural cell adhesion sites.
- Hyaluronic Acid: Crucial for tissue hydration and signaling.
2. Synthetic Hydrogels: Tunable Mechanics for Controlled Release
These are man-made polymers like Polyethylene Glycol (PEG).
- Pros: You can tune the stiffness, degradation rate, and porosity precisely.
- Cons: Cells don’t naturally stick to them. You have to add peptides like RGD (arginylglycylaspartic acid) to give cells something to grab onto.
3. Decellularized Matrices: The Ultimate Biological Fidelity
This involves taking a real organ (like a pig heart), stripping away all the cells, and using the remaining ECM as a bioink.
- Pros: Unmatched biological complexity and signaling.
- Cons: Batch-to-batch variability and ethical concerns.
Fun Fact: In a study by Organovo, their liver tissue model (exVive3D™) uses a mix of primary hepatocytes, stellate cells, and endothelial cells printed in a hexagonal shape. This specific arrangement allows microcapillaries to form after just 60 hours of incubation, mimicking the liver’s blood flow!
Scaling Up: Automating the Bioprinting Workflow for Industrial HTS
You can print a beautiful liver model in a lab, but can you print 10,0 of them in a week? That’s the challenge of scaling up.
Industrial HTS requires a seamless workflow where the bioprinter is just one node in a larger automated system.
- Plate Handling: Robots move plates from incubators to the printer.
- Printing: The bioprinter deposits the bioink.
- Crosslinking: UV light or temperature changes solidify the structure.
- Incubation: Plates return to the incubator.
- Assay: Automated liquid handlers add drugs and read the results.
A recent breakthrough from a research team (Ma et al.) demonstrated a custom DLP bioprinter that could print lobule designs with features as small as 1 micrometer in a continuous process. This system, combined with a circular branching design, allowed for the creation of 8 bioreactors on a single chip in less than 3 minutes.
Wait, 3 minutes? Yes! By using a multi-material system with PEGDA for the support structure and GelMA for the cells, they eliminated the need for post-fabrication steps like cell seeding. This is the future of disposable, on-demand drug testing chips.
For more on how automation is changing the game, check out our articles on 3D Printable Objects where we discuss custom fixtures for lab automation.
3D Tissue Models vs. 2D Monolayers: Why the Industry is Shifting Gears
Why is everyone abandoning the trusty 2D Petri dish? It’s simple: 2D lies to you.
In a 2D monolayer, cells are squashed flat. They don’t have the 3D architecture of a real tissue. They don’t experience the same diffusion gradients of oxygen and nutrients. They don’t talk to their neighbors in the same way.
The “Resistance Factor”
In cancer research, 2D models often show a drug killing 90% of cells. But in a 3D tumor model, that same drug might only kill 20%. Why? Because the inner cells are protected by the outer layer, mimicking the tumor microenvironment. This “resistance factor” is exactly what we need to catch before a drug hits human trials.
| Feature | 2D Monolayer | 3D Bioprinted Model |
|---|---|---|
| Cell Morphology | Flat, spread out | Natural, 3D shape |
| Cell-Cell Interaction | Limited | Complex, multi-directional |
| Diffusion Gradients | None | Present (O2, Nutrients, Drugs) |
| Drug Response | Often Overestimated | Closer to in vivo |
| Cost | Low | Higher (but dropping) |
As noted in the literature, “3D models better mimic aspects such as diffusion kinetics… leading to more representative disease modeling.” This shift is critical for predictive toxicity and efficacy testing.
Key Applications in Drug Development and Toxicity Testing
Now that we have the tech, what are we actually doing with it?
1. Accelerating Lead Optimization and Candidate Selection
Pharma companies use 3D models to filter out bad drugs early. If a compound kills liver cells in a 3D model, it never makes it to the animal testing phase. This saves millions of dollars and years of time.
2. Predictive Cardiotoxicity and Hepatotoxicity Screening
The liver and heart are the two organs most likely to fail in clinical trials.
- Liver: 3D liver models can detect fibrosis (scarring) and metabolic issues that 2D models miss.
- Heart: Bioprinted cardiac patches can measure changes in beating rate and cell death, predicting arrhythmias before they happen in humans.
3. Cancer Drug Resistance and Tumor Microenvironment Modeling
By co-printing cancer cells with stromal cells and immune cells, researchers can create a realistic tumor. This allows them to test how drugs penetrate the tumor and how the immune system reacts.
4. Personalized Medicine: Tailoring Therapies to Patient Genomics
Imagine taking a biopsy from a patient, turning those cells into hiPSCs (human induced Pluripotent Stem Cells), and printing a personalized tumor model. Then, you test 50 different chemo drugs on that model to see which one works best for that specific patient. This is precision medicine in action.
Quote: “Through the use of biofabricated 3D cell cultures and bioprinting, drug screening can be carried out on patient-specific models to determine best treatments.”
Benchtop Considerations: Equipment, Software, and Cell Culture Challenges
If you’re thinking of setting up a bioprinting lab, here’s the reality check. It’s not just about buying a printer.
- Sterility is Non-Negotiable: You are working with living cells. Your printer needs to be in a biosafety cabinet or have a sterile enclosure.
- Temperature Control: Many bioinks (like collagen) need to be kept at 4°C to stay liquid, then printed at 37°C to gel. Your printer needs heated stages and coled syringes.
- Software Complexity: You need software that can handle multi-material printing and volumetric calculations. It’s not just G-code; it’s biological logic.
- Cell Culture Expertise: You need a team that knows how to culture hiPSCs, differentiate them, and maintain them. A bad cell line ruins the print.
For those looking to design their own lab fixtures or custom parts, our 3D Printing in Architecture section offers insights into designing for specific environmental constraints.
Overcoming the Hurdles: Standardization, Cost, and Regulatory Pathways
We are making progress, but the road isn’t smooth.
- Standardization: There is no “ISO standard” for bioinks yet. One lab’s GelMA is different from another’s. This makes it hard to compare results across studies.
- Cost: While the material cost per chip is low, the capital equipment (bioprinters, incubators, liquid handlers) is expensive.
- Regulatory Pathways: How do you get FDA approval for a drug tested on a 3D printed model? The regulatory framework is still catching up. We need to prove that 3D models are predictive of human outcomes.
The Future: As the technology matures, we expect to see standardized bioink kits and automated validation protocols that will make 3D bioprinting as routine as 2D culture is today.
The Future Horizon: Organ-on-a-Chip and In Vivo Prediction Accuracy
The ultimate goal? Organ-on-a-Chip.
Imagine a single device that contains a liver, a heart, and a kidney, connected by microfluidic channels that mimic blood flow. You inject a drug, and the device tells you how it’s metabolized by the liver, how it affects the heart, and how it’s excreted by the kidney.
Recent studies using DLP bioprinting have already created chips with tunable stiffness and permeability, allowing for real-time monitoring of drug effects. The next step is integrating sensors directly into the chip to measure oxygen, pH, and metabolites in real-time.
Teaser Resolution: Remember the question about printing a complex liver model in under 3 minutes? The answer is DLP bioprinting combined with multi-material systems. By printing the support structure and the cell-laden hydrogel simultaneously, we eliminate the slow, manual steps of the past. This is the key to unlocking true high-throughput 3D screening.
For a visual demonstration of how these automated systems work in a real lab, check out the perspective from the first YouTube video embedded in our resources, which tours the Ohio State College of Pharmacy’s HTS facility. It showcases the incredible automation that is making this future a reality.
Conclusion
We’ve traveled from the flat, unreliable world of 2D cell cultures to the dynamic, complex landscape of 3D bioprinting. The journey hasn’t been easy, but the destination is worth it. By integrating high-throughput screening with bioprinting, we are finally creating drug testing models that actually mimic the human body.
The Verdict:
- Positives: Higher prediction accuracy, reduced animal testing, personalized medicine potential, and the ability to model complex diseases like cancer and fibrosis.
- Negatives: High initial costs, technical complexity, lack of standardization, and the current speed bottleneck for ultra-high-throughput (1536-well) applications.
Our Recommendation:
For pharmaceutical companies and research labs, the time to invest in 3D bioprinting is now. Start with extrusion-based systems for robust tissue models or inkjet systems for simple spheroids. As the technology matures, transition to DLP and laser-assisted systems for high-resolution, complex organ-on-a-chip applications. The shift from 2D to 3D is not just a trend; it’s a necessity for the future of drug discovery.
The question is no longer “Can we do it?” but “How fast can we scale it?” And with the rapid advancements in DLP bioprinting and automated workflows, the answer is getting faster every day.
Recommended Links
Ready to dive deeper or start your own bioprinting journey? Here are some essential resources and products to explore.
👉 Shop Bioprinting Solutions & Materials:
- Nano3D Biosciences: Nano3D Biosciences Official Website | Search for Magnetic Bioprinting on Amazon
- Organovo: Organovo Official Website | Search for Organovo Liver Models on Amazon
- Cellink (BICO): BICO Official Website | Search for Bioinks on Amazon
- Alevi (BICO): Alevi Official Website | Search for Alevi Bioprinters on Amazon
Books & Educational Resources:
- 3D Bioprinting: Methods and Protocols (Springer) – Find on Amazon
- Bioprinting: Principles and Applications (Elsevier) – Find on Amazon
For 3D Models & Printable Related Queries:
FAQ
How does bioprinting improve high throughput drug screening?
Bioprinting improves HTS by creating physiologically relevant 3D tissue models that better mimic human biology than traditional 2D cultures. This leads to more accurate data on drug efficacy and toxicity, reducing the failure rate of drug candidates in later clinical trials. By automating the creation of these models, bioprinting allows for the rapid generation of thousands of consistent 3D samples, bridging the gap between the complexity of 3D tissues and the speed of HTS.
Read more about “🧬 Bioprinting Tissues for Drug Testing: 7 Game-Changers (2026)”
What are the best materials for 3D printing drug screening models?
The “best” material depends on the application, but GelMA (Gelatin Methacryloyl) is widely considered the gold standard for many applications due to its tunable stiffness and biocompatibility. Collagen is excellent for mimicking the native ECM but is harder to print. Alginate is great for speed and ease of use but requires functionalization (like RGD peptides) for cell adhesion. PEGDA is often used for support structures in microfluidic chips.
Can 3D printed tissues replace animal testing in drug discovery?
While 3D printed tissues cannot completely replace animal testing yet, they are significantly reducing the reliance on it. They serve as a powerful pre-screening tool that filters out toxic or ineffective drugs before they ever reach animal models. This “human-on-a-chip” approach is expected to eventually replace many animal tests, especially for toxicity and efficacy screening, as the models become more complex and predictive.
What bioprinting techniques are used for high throughput screening?
Inkjet bioprinting is often used for its speed and ability to create microarrays. Extrusion bioprinting is used for creating larger, more robust tissue constructs. Laser-assisted bioprinting offers high resolution for complex structures. DLP (Digital Light Processing) is emerging as a top contender for HTS due to its ability to print entire layers at once, enabling the rapid fabrication of complex microfluidic chips and organ-on-a-chip devices.
How much does it cost to set up a bioprinting lab for drug screening?
Setting up a bioprinting lab is a significant investment. While the material cost per chip can be as low as $0.50, the capital equipment (bioprinters, incubators, liquid handlers, microscopes) can range from tens of thousands to hundreds of thousands of dollars. Additionally, the cost of cell culture reagents, bioinks, and personel (biologists, engineers) adds to the operational expenses. However, the long-term savings from reduced drug failure rates often justify the initial investment.
What are the challenges in scaling bioprinting for drug testing?
The main challenges include throughput vs. complexity (printing complex tissues fast enough for HTS), standardization of bioinks and protocols, cell expansion (getting enough cells for high-throughput), and regulatory hurdles (proving 3D models are predictive). Additionally, integrating bioprinting into existing automated HTS workflows requires significant engineering and software development.
Read more about “15 Game-Changing Functional 3D Prints You Can Make Today 🛠️ (2026)”
Which 3D printers are suitable for bioprinting drug screening applications?
Suitable printers include the Nano3D Biosciences Magnetic Bioprinter for spheroids, Cellink (BICO) BIO X for extrusion, Alevi 2 for multi-material printing, and custom DLP systems for high-resolution microfluidic chips. The choice depends on the specific needs: speed (Inkjet/DLP), resolution (Laser/DLP), or material versatility (Extrusion).
Read more about “🧬 Bio-inks for Bioprinting: The Ultimate 2026 Guide to Living Inks”
Reference Links
- PMC796875: High-Throughput Drug Screening with Bioprinting – Read Full Article
- PMC1375967: Seamless Manufacturing of Bioprinted Microfluidic Chips – Read Full Article
- PubMed: Bioprinting towards Physiologically Relevant Tissue Models for… – View on PubMed
- Nano3D Biosciences: Magnetic Bioprinting Technology
- Organovo: exVive3D Human Liver Tissue
- BICO (Cellink/Alevi): Bioprinting Solutions
- FDA: Regulatory Considerations for 3D Bioprinted Products – FDA Guidance